A while ago I stumbled over an article about a smart mirror using some old unused Nexus 7 as the driver. I was instantly fascinated by this project because it is low-cost, needs some real world handcraft and of course involves writing some new code. Obviously the last part is my favourite bit so I quickly came up with some new ideas which where not available in the original software. However, I will come to that part later in a separate post. I still had my trusty old HTC Desire in the cupboard and after proofing it still works I decided to give it a go. This first post will guide you through the really simple process of making the base for the mirror. It will not involve any liquid glue … I promise 🙂
Parts you need
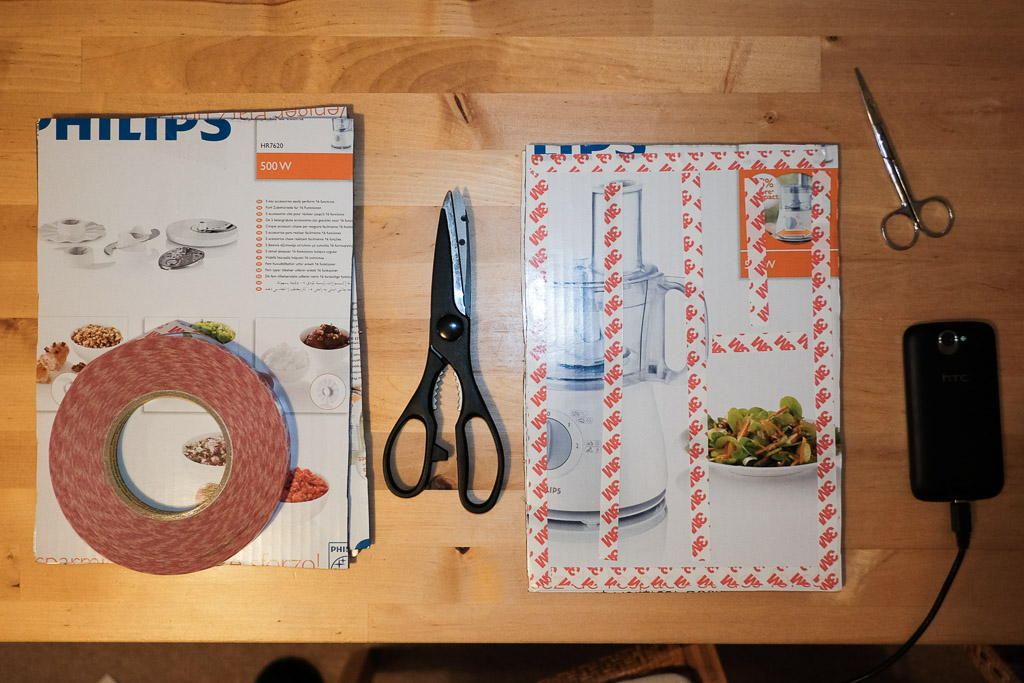
The following is a list of items you need for this project. I added links to the items I used:
- two-way acrylic mirror (I made it A4 in size, but a little bigger is probably better)
- black card sheets (I used size A3; in any case it should be bigger than your mirror)
- double-sided clear tape
- cardboard
- Android phone/tablet
- scissors
As you notice this is basically just plastic and cardboard which makes the final mirror reasonably light.
Assembling procedure
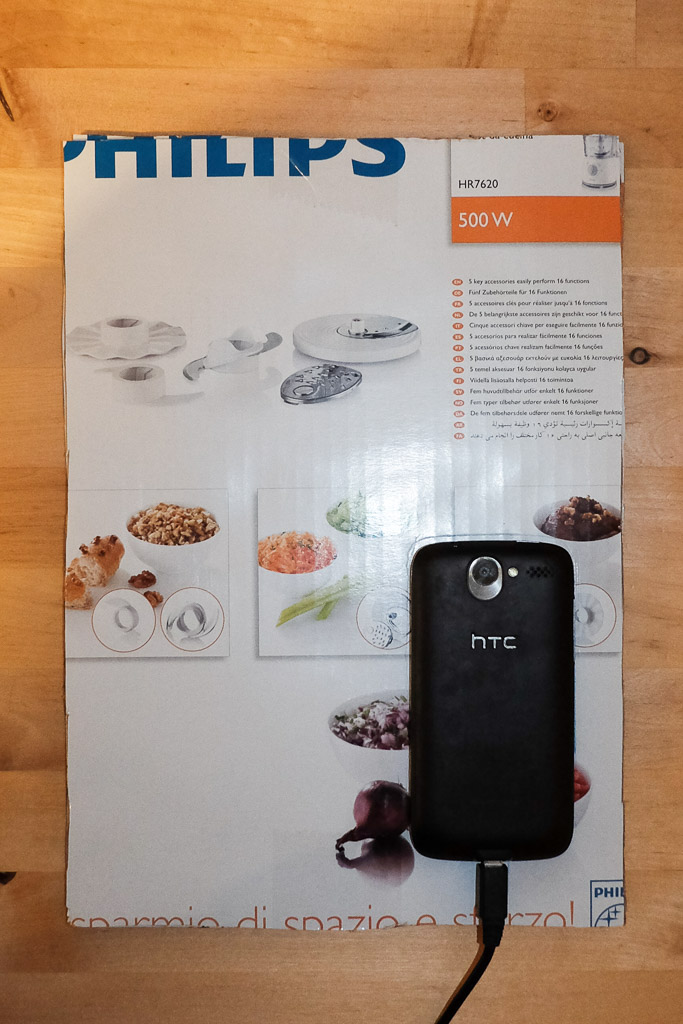
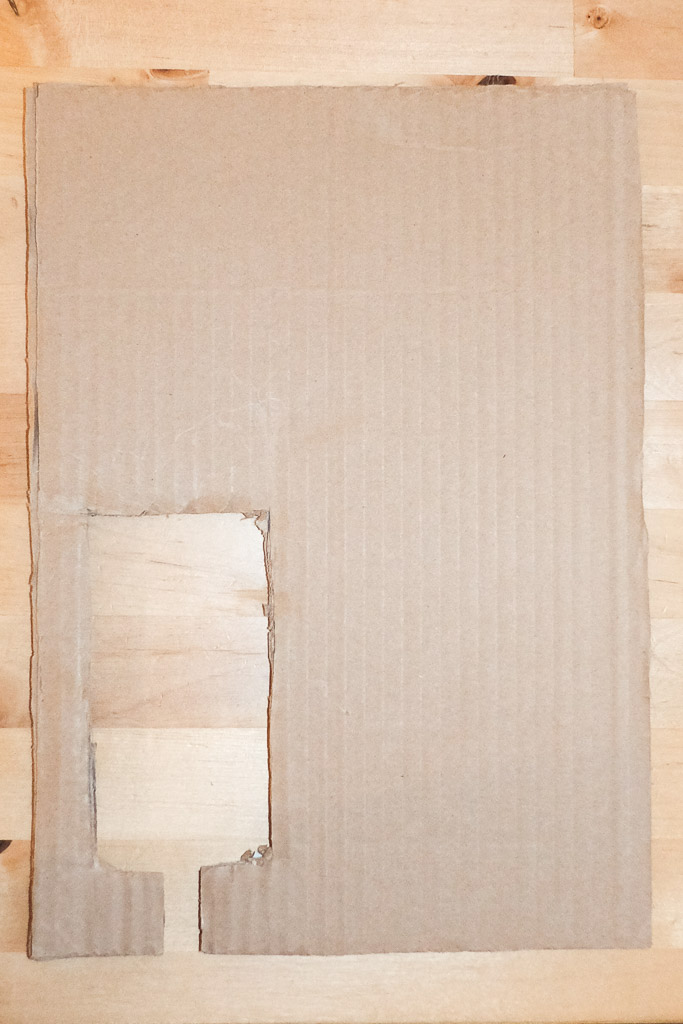
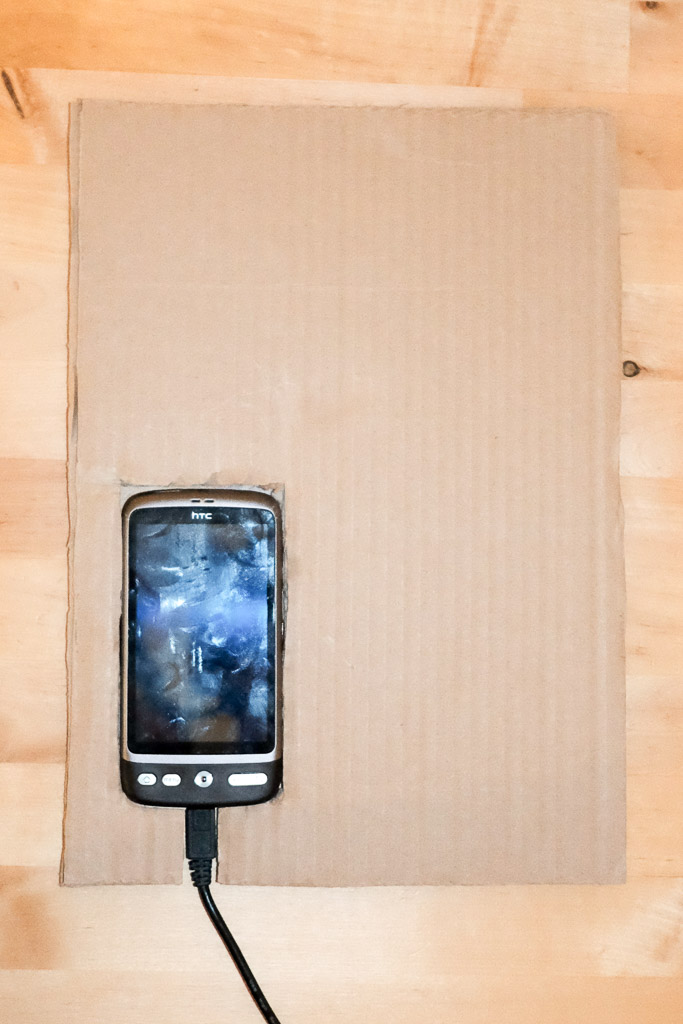
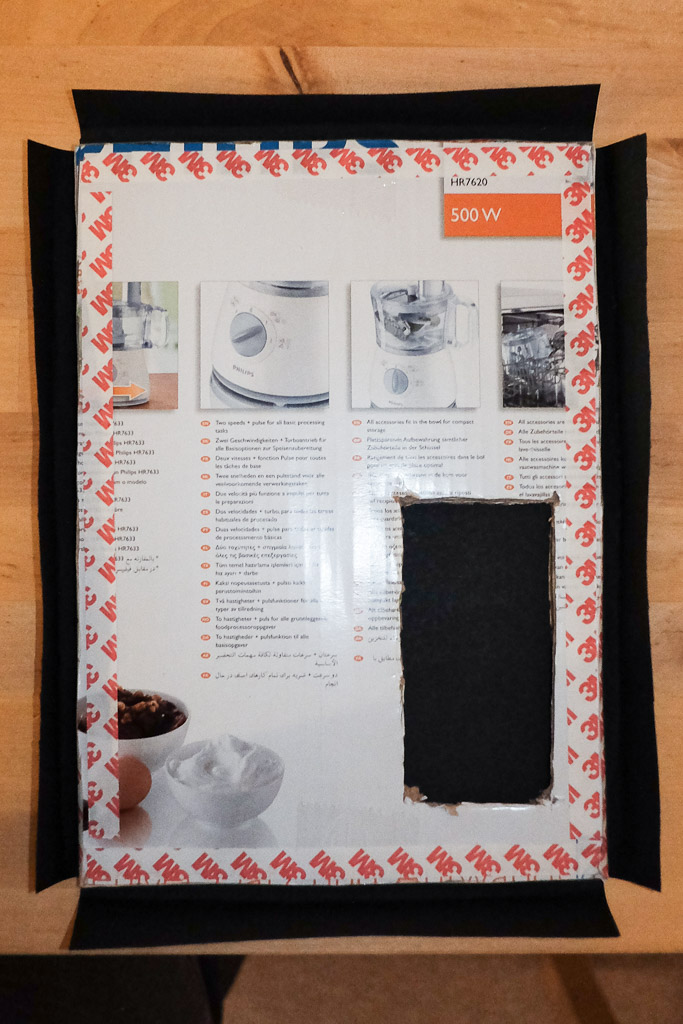
First I cut four pieces of cardboard to the size of the mirror. Four of them stacked together matched roughly the thickness of my phone and you may need more or less layers depending on the thickness of your phone/tablet and how thick the cardboard itself is (Pic. 1). I stuck one by one together using the double-sided tape. After deciding that the screen should be in the lower right corner I placed the phone on the cardboard and drew around it (Pic. 2). Make sure there is enough space on all the sides for the tape. The hard part of cutting out the shape of the phone from three layers of cardboard had to be done next (Pic. 3/4). I did the last layer in a separate step and skipped the cut-out of the usb cable shaft. This gives the structure a bit more strength.
The black card sheet will serve two purposes:
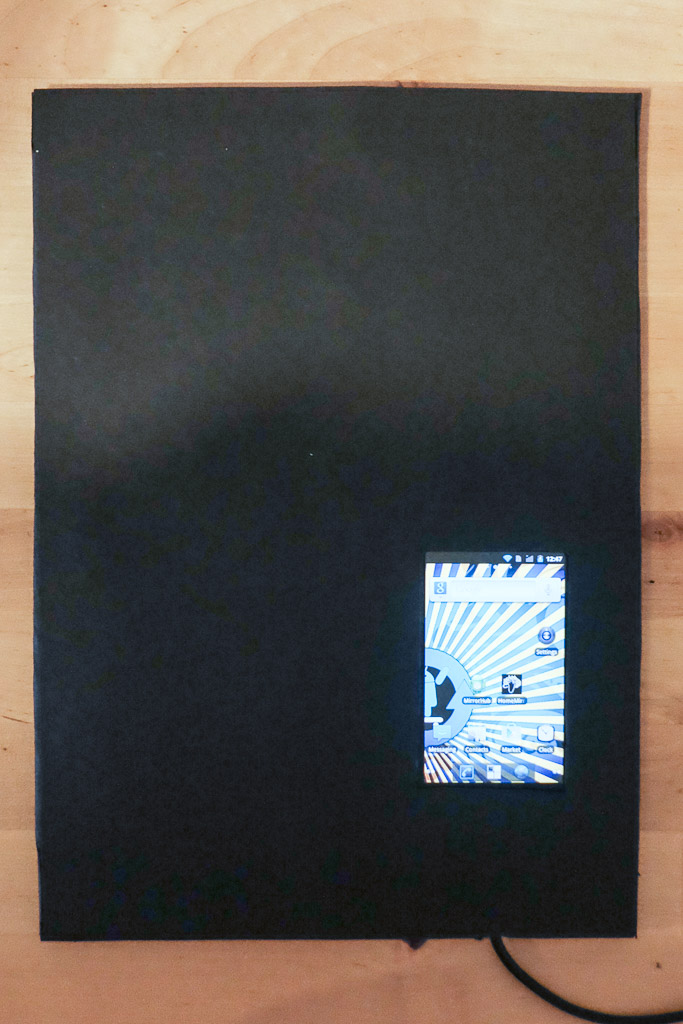
- shield the light of the phone buttons/battery indicator from being visible through the mirror
- make the base looking more … well … nice
I cut one black card sheet 2 cm bigger than the mirror on each side and stuck it on the back of the cardboard. Than I bended the overlapping part to the front and fixed it with tape as well (Pic. 5). Now again you need to cut out the phone shape. A black card sheet the size of the mirror now goes on the front of the cardboard. Next you need to be careful! Just cut out a rectangle the size of your active phone screen, excluding any buttons and the bezels (Pic. 6). I did this in several steps making sure not to remove too much. Finally stick the plastic mirror on the front of the cardboard.
Conclusion
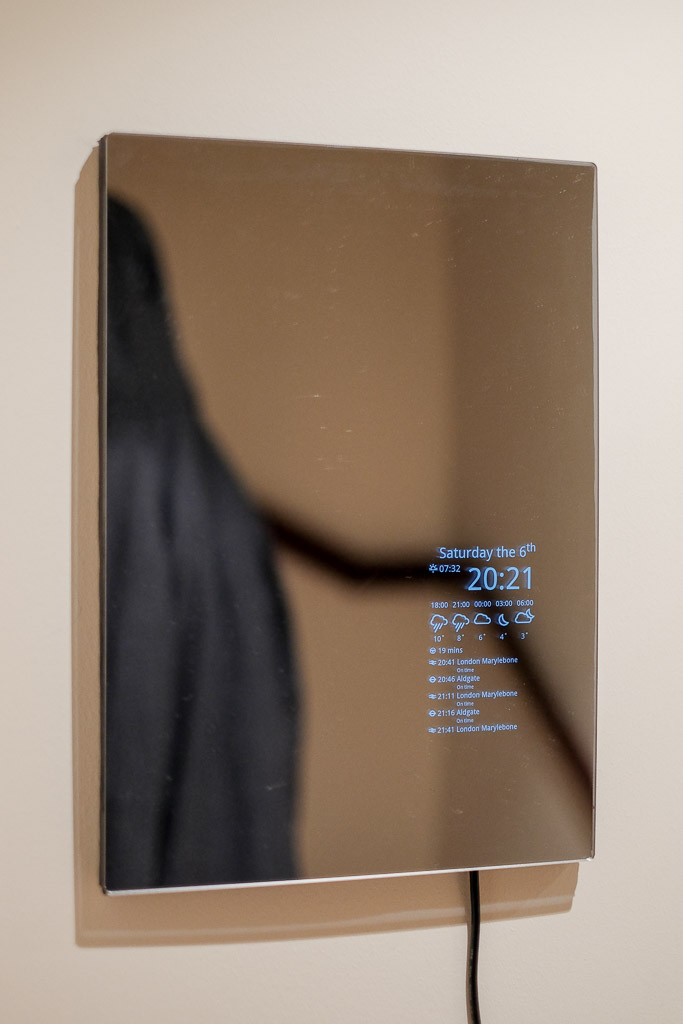
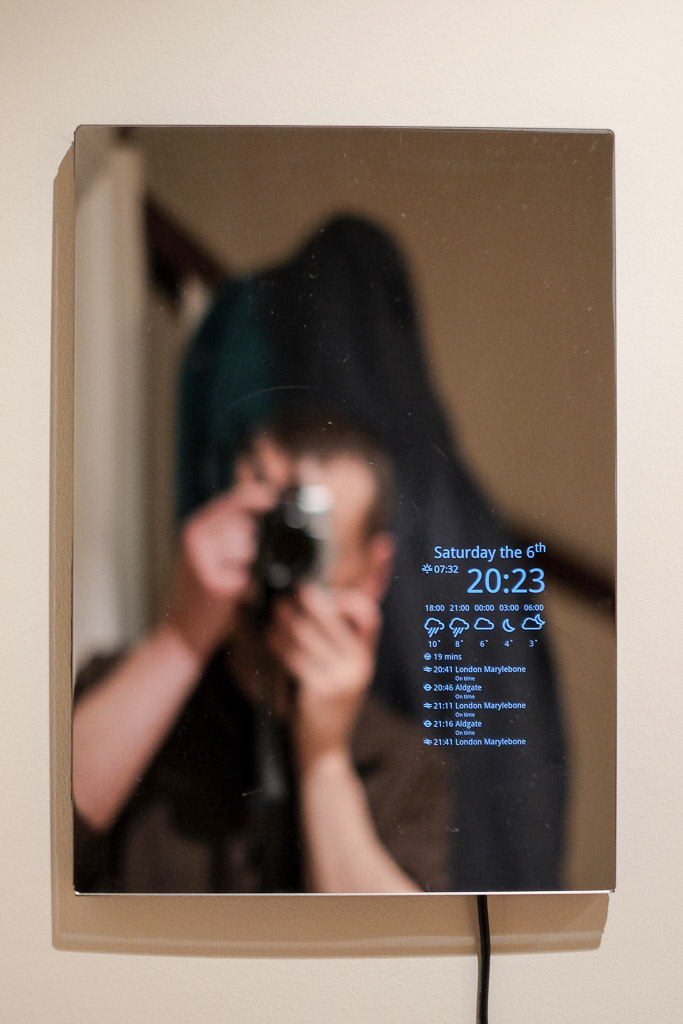
As you see in picture 7 and 8 this came together quite well. If I would do it again I would probably go for a bigger mirror around the size of A3. Also I would make the base slightly smaller than the actual mirror so that it looks a bit more free-standing.
In the next post I will talk about the software you can see in the pictures, but if you are curious you can have a look at my github repository.